Canva vs. Figma vs. Adobe- In 2025, the world of graphic design is more competitive and technologically advanced than ever before. With an ever-growing list of tools available to designers, three platforms continue to dominate the conversation: Canva, Figma, and Adobe Creative Cloud (primarily Photoshop, Illustrator, and XD). Each offers unique strengths, caters to different audiences, and continues to evolve rapidly.
So which one truly wins in 2025? The answer isn’t one-size-fits-all. It depends on your goals, skill level, and use case. Let’s break down these platforms across various dimensions: :
What Are Canva, Figma, and Adobe?
Canva: Design for Everyone
Canva was launched in 2013 with a mission to democratize design. Built as a simple, browser-based editor, it quickly gained popularity among non-designers. By 2025, Canva has evolved into a robust design suite that serves content creators, marketers, educators, and even small businesses.
Thanks to features like drag-and-drop functionality, thousands of templates, stock assets, and built-in branding kits, Canva has become a one-stop solution for creating social media posts, presentations, infographics, and short videos. Recently, AI tools like Magic Design, Magic Write, and text-to-image generators have enhanced its appeal further.
Figma: Collaborative Design Reimagined
Figma entered the scene in 2016 and disrupted the design space with its real-time, collaborative editing. Built for UI/UX design, Figma is fully browser-based and highly flexible, making it an instant hit among product teams, developers, and startups.
In 2025, Figma continues to be the de facto choice for web and app designers, offering features like auto layout, advanced prototyping, reusable design systems, and a growing library of plugins. The introduction of Figma AI and enhanced developer handoff tools has further cemented its place as a professional-grade digital product design platform.
Adobe Creative Cloud: The Industry Standard
No discussion about design software is complete without Adobe. With over three decades of history, Adobe’s Creative Cloud suite is still the most comprehensive offering for creative professionals. Tools like Photoshop, Illustrator, InDesign, and XD cater to everything from photo editing and vector illustration to print publishing and UI design.
By 2025, Adobe remains the gold standard for professional design work. With the integration of Adobe Firefly (its AI toolkit), features like smart background removal, neural filters, and AI-driven content-aware fills make powerful tasks easier to execute. However, Adobe’s steep learning curve and premium pricing still pose challenges for beginners and freelancers.
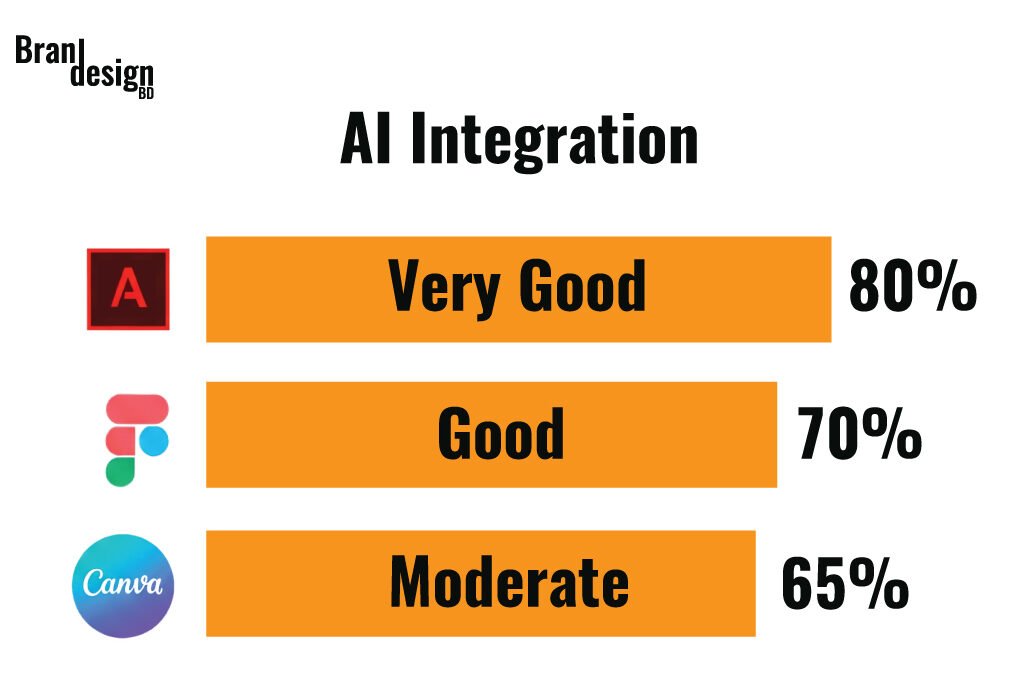
The Role of AI Integration in 2025
As artificial intelligence continues to revolutionize nearly every industry, its impact on graphic design software has become undeniable. From automating repetitive tasks to generating complete design compositions, AI plays a critical role in the evolution of Canva, Figma, and Adobe.
Canva: AI-Powered Simplicity for All
Canva’s integration of AI has transformed it into one of the most intuitive and efficient design tools for non-professionals. In 2025, Canva continues to lead the charge in AI-assisted design for beginners. Notable AI-powered features include:
- Magic Design: Users can simply describe the type of design they want, and Canva generates multiple layout options instantly.
- Magic Write: A copywriting AI that helps users draft headlines, captions, and content directly within the editor.
- Text-to-Image: Based on user prompts, Canva generates custom images using AI-powered image synthesis.
- Auto-adjustment and smart alignment: Elements within a design are automatically aligned, color-matched, and resized based on AI predictions.
- Brand Voice Matching: Canva can mimic tone and style from previous content to ensure consistency across materials.
- Presentation Enhancer: Automatically suggests slide transitions, image placements, and content flow for better storytelling.
Canva’s goal is to take the thinking out of design. With these AI features, small business owners and marketers can produce brand-consistent, engaging content in minutes.
Figma: Smart Collaboration Meets Predictive Design
Figma has embraced AI in a way that complements its collaborative DNA. By 2025, Figma AI is deeply embedded into the design and development pipeline. Key innovations include:
- Auto Layout 3.0: Figma AI understands responsive behavior and automatically suggests layout adjustments for multiple screen sizes.
- Design System Suggestions: Figma suggests styles, components, and spacing rules from an organization’s design system as designers work.
- Smart Prototyping: AI anticipates user interaction flows and helps speed up the prototyping phase.
- Plugin Enhancements: Figma’s plugin ecosystem has grown with AI tools for accessibility checks, visual hierarchy analysis, and even brand compliance enforcement.
- Live Feedback AI: Provides real-time suggestions during design reviews and flags potential usability issues.
- Contextual Code Recommendations: Helps bridge the gap between design and development by offering code-ready suggestions for frontend components.
Figma’s AI doesn’t just automate tasks—it enhances creative decision-making, especially in teams working on user interfaces or product design.
Adobe: Professional Control Enhanced by Firefly AI
Adobe has taken AI integration to a more sophisticated level, embedding it across almost every application in the Creative Cloud suite. In 2025, the Adobe Firefly engine enables:
- Text-to-Image and Vector: Designers can generate high-resolution images and scalable vectors from text prompts in Photoshop and Illustrator.
- Neural Filters: AI-driven filters allow for facial expression changes, skin smoothing, and lighting adjustments—all with sliders.
- Generative Fill: Photoshop users can now select any part of an image and have the AI fill it with matching content seamlessly.
- AI Brush Tools: Automatically detect and select objects, people, or backgrounds for editing.
- Font Matching & Generation: Detect and replicate typography from any image or style.
- 3D Asset Generation: Generate photorealistic 3D models from sketches or prompts, ready for use in AR/VR content.
Adobe’s AI focuses on augmenting the skillset of professionals rather than replacing their creative input. It’s built for precision, making it ideal for artists, photographers, and advanced graphic designers who require full creative control.
Comparing AI Use Cases: Canva vs. Figma vs. Adobe
| Feature/Function | Canva AI | Figma AI | Adobe Firefly AI |
|---|---|---|---|
| Text-to-Image | Basic, social media-focused | Limited | High-quality, customizable |
| Copywriting Assistance | Yes (Magic Write) | No (plugins available) | Limited (Adobe Express only) |
| Smart Layout Suggestions | Yes | Yes (Auto Layout 3.0) | No |
| Object Recognition & Editing | No | Limited (plugins required) | Yes (Photoshop, Illustrator) |
| Workflow Integration | Seamless for casual users | Deep integration for teams | Advanced, but complex |
| Font Matching/Creation | No | Limited (via plugins) | Yes (Adobe Firefly) |
| Live Collaboration | Basic (real-time updates) | Fully collaborative | Limited (Adobe XD, CC Libraries) |
| 3D/AR Content Creation | No | No | Yes (Substance 3D, Firefly) |
AI: The Future of Design or a Creative Shortcut?
The debate continues—will AI replace designers or simply make them more powerful? In 2025, the answer leans toward augmentation rather than replacement.
- For beginners and entrepreneurs, AI tools like Canva’s Magic Design reduce barriers to entry.
- For teams and developers, Figma’s AI fosters more productive and consistent design work.
- For professionals and artists, Adobe’s AI expands what’s creatively possible while retaining full manual control.
Ultimately, the integration of AI across all three platforms shows one thing clearly: AI is not eliminating creativity; it’s reshaping how we achieve it.
The Verdict on AI Integration in 2025
AI has fundamentally reshaped the graphic design landscape. Each platform—Canva, Figma, and Adobe—has taken a unique path in implementing artificial intelligence, based on their audiences and core missions.
- Canva wins in ease and speed for casual users through highly automated AI features.
- Figma excels in team-based, UI/UX-specific tasks with intelligent, predictive assistance.
- Adobe dominates in complexity, offering unmatched creative freedom powered by sophisticated AI tools.
Key categories:
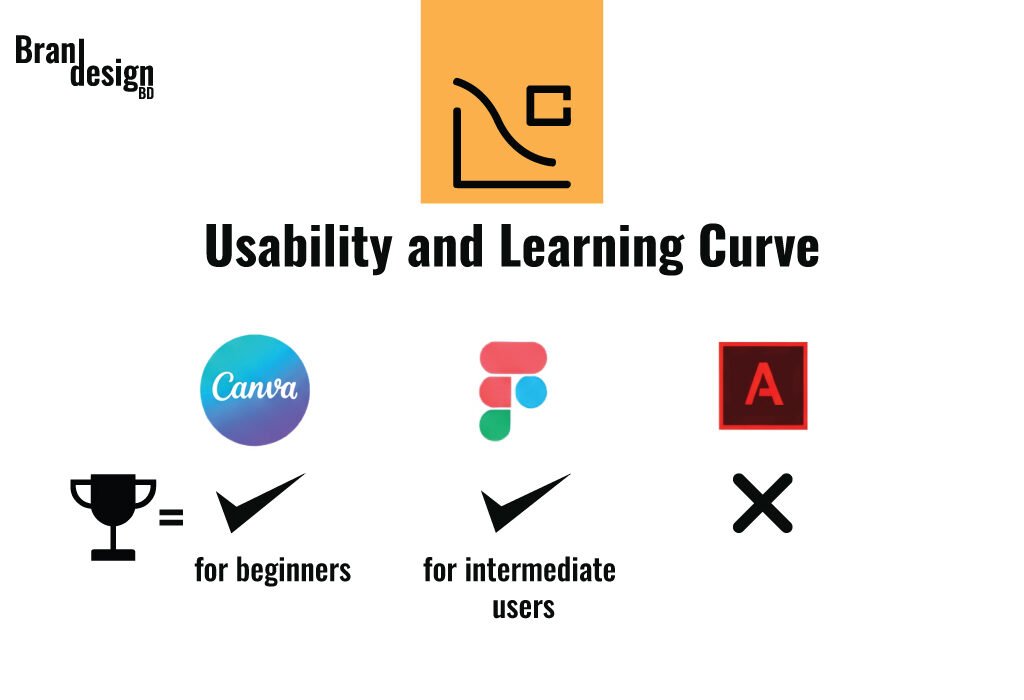
1. Usability and Learning Curve
Canva: In 2025, Canva remains the most user-friendly design tool on the market. It is built for non-designers and beginner-level creatives. Its drag-and-drop interface, pre-built templates, and simplified toolset allow users to create social media graphics, presentations, and even basic videos with ease. Learning Canva takes just minutes, making it ideal for small business owners, content creators, and students.
Figma: Figma strikes a balance between professional power and accessible design. While it’s slightly more complex than Canva, its UI remains intuitive. New features added in 2024 and 2025, such as advanced auto-layout and smart design systems, have made the platform even easier for UX/UI designers to work efficiently. A basic understanding of design principles is recommended, but not required.
Adobe: Adobe Creative Cloud tools are the most powerful, but also the most complex. Photoshop, Illustrator, and XD offer deep functionality and professional-grade features, but the learning curve is steep. In 2025, Adobe has tried to simplify its UX with tutorials and AI-powered assistants, but it still takes time to master these tools.
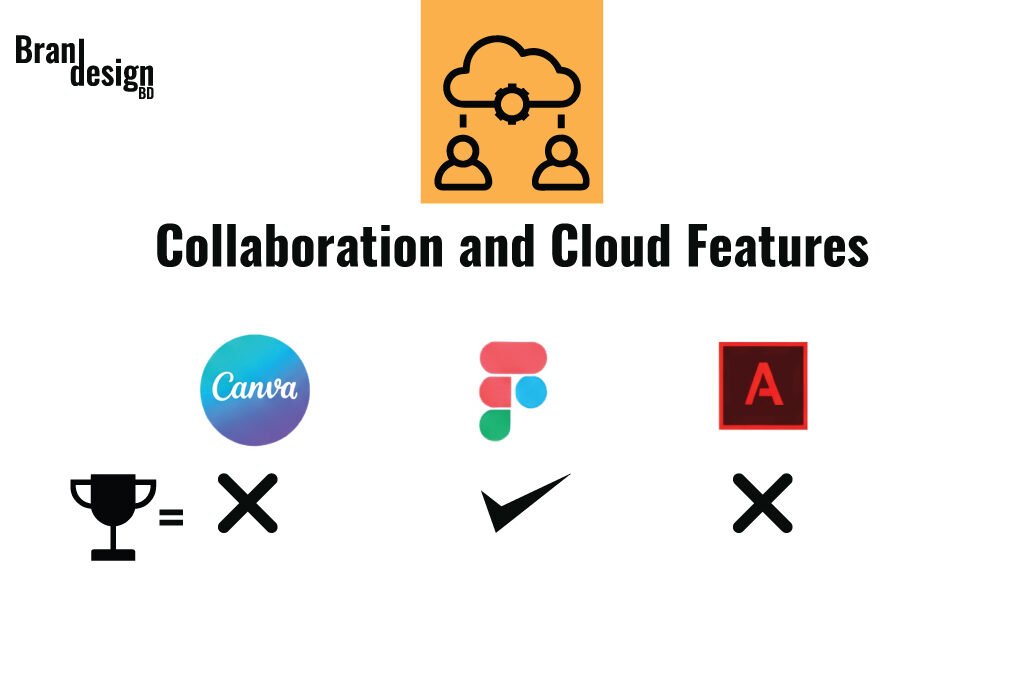
2. Collaboration and Cloud Features
Canva: Canva has significantly improved its team collaboration features. In 2025, real-time collaboration, commenting, brand kits, and shared folders are standard for Pro users. It’s great for marketing teams and startups who need quick approvals and fast turnarounds.
Figma: Figma remains the gold standard for collaboration. Multiple users can edit a file simultaneously, leave comments, and manage design systems in real-time. Its browser-based nature makes it platform-independent. In 2025, with Figma Spaces and improved version control, it’s even better for large-scale product teams.
Adobe: Adobe has made strides in collaborative workflows with Adobe Cloud Documents and Coediting in XD. However, collaboration still feels a bit clunky compared to Figma. Files are large, and version control can be tricky.
3. Features and Capabilities
| Feature | Canva | Figma | Adobe |
|---|---|---|---|
| Ease of Use | Extremely user-friendly, drag-and-drop. | User-friendly, but requires some learning. | Steep learning curve; powerful but complex. |
| Design Templates | Thousands of customizable templates. | Focused on UI/UX templates, prototyping. | Extensive templates for print, web, and mobile. |
| Collaboration | Limited collaboration in the free version. | Real-time collaboration for teams. | Limited collaboration (Adobe XD is better for this). |
| Customization & Flexibility | Limited; basic customization options. | Highly customizable, ideal for UI design. | Highly flexible with full control over every aspect. |
| AI Features | Magic Design, Magic Write, Text-to-Image. | Limited AI features, plugins available. | Adobe Firefly (advanced AI-powered tools). |
| Prototyping | Basic, not as advanced as Figma. | Advanced interactive prototyping. | Advanced in Adobe XD (part of Creative Cloud). |
| Integration with Other Tools | Limited integrations (Google Drive, Slack). | Strong integration with other design tools. | Comprehensive integration with all Adobe apps. |
| Stock Assets | Access to stock photos, illustrations, videos. | Limited to user-uploaded assets or external libraries. | Extensive stock assets in Adobe Stock. |
| Platform Availability | Web-based, mobile app. | Web-based, with desktop app for offline use. | Desktop apps for macOS, Windows (Cloud-based for syncing). |
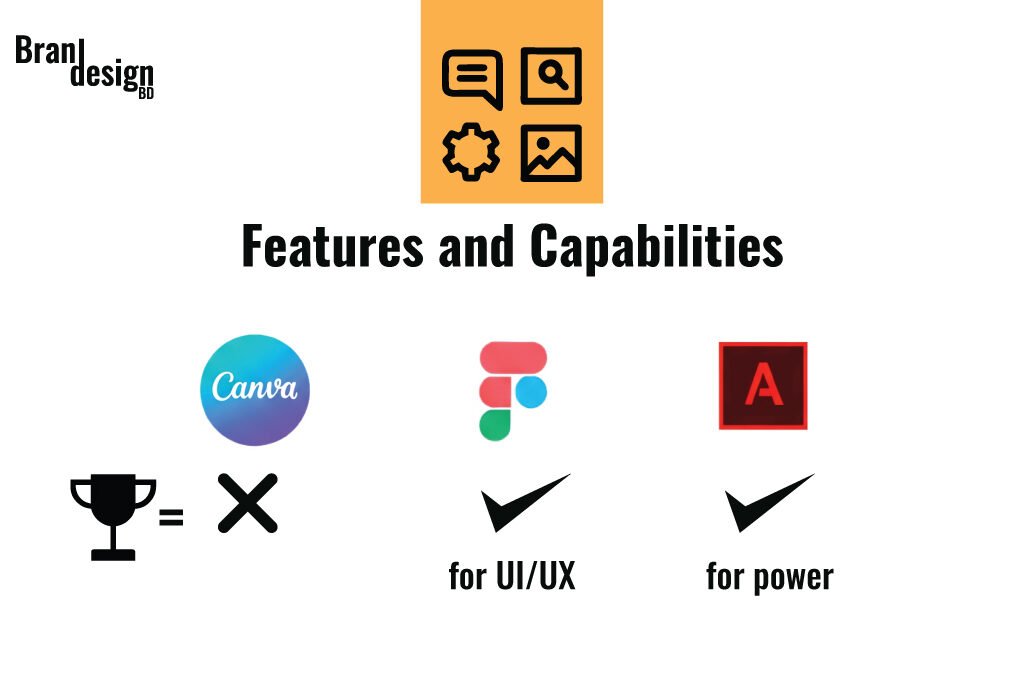
Canva: Canva excels in simplicity but lacks depth. It’s ideal for creating marketing visuals, quick edits, and presentations. In 2025, AI-powered tools like Magic Design and AI text-to-image have enhanced its capabilities, but professional designers may still find it limiting.
Figma: Figma is built for UI/UX design and prototyping. It handles wireframes, responsive design, and design systems incredibly well. With new plugin ecosystems and built-in AI assistance in 2025, Figma is more powerful than ever. However, it doesn’t replace Photoshop or Illustrator for graphic-heavy work.
Adobe: Adobe wins when it comes to depth. Photoshop and Illustrator are unmatched in image editing, vector design, and complex graphic creation. Adobe’s AI tool “Firefly” now powers smart object selection, text-to-image, and content-aware fills more efficiently than ever.
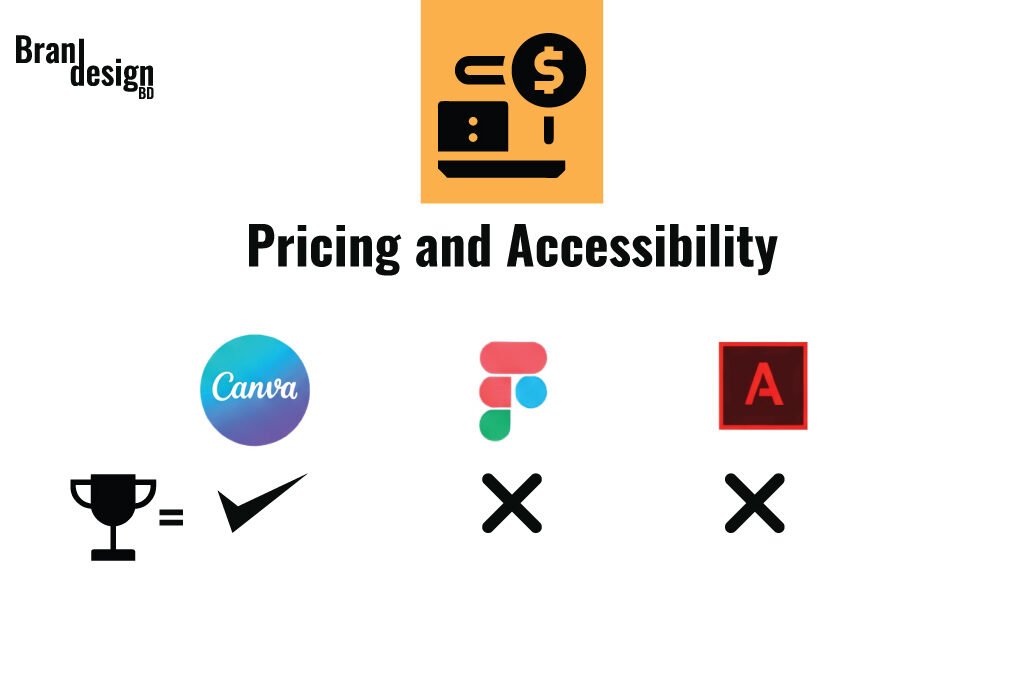
4. Pricing and Accessibility
Canva: Canva offers a generous free plan with thousands of templates. The Pro plan is reasonably priced and offers great value for small teams. In 2025, Canva also provides tailored solutions for educators and nonprofits.
Figma: Figma has a free tier for individuals and small teams. The Professional and Organization plans add advanced collaboration and team management tools. It’s cost-effective for startups and design teams.
Adobe: Adobe is the most expensive of the three. Its subscription model requires payment per app or for the full Creative Cloud suite. Although students and educators get discounts, it can be a barrier for freelancers and small businesses.
Winner: Canva (most affordable), Figma (best value for mid-level teams)
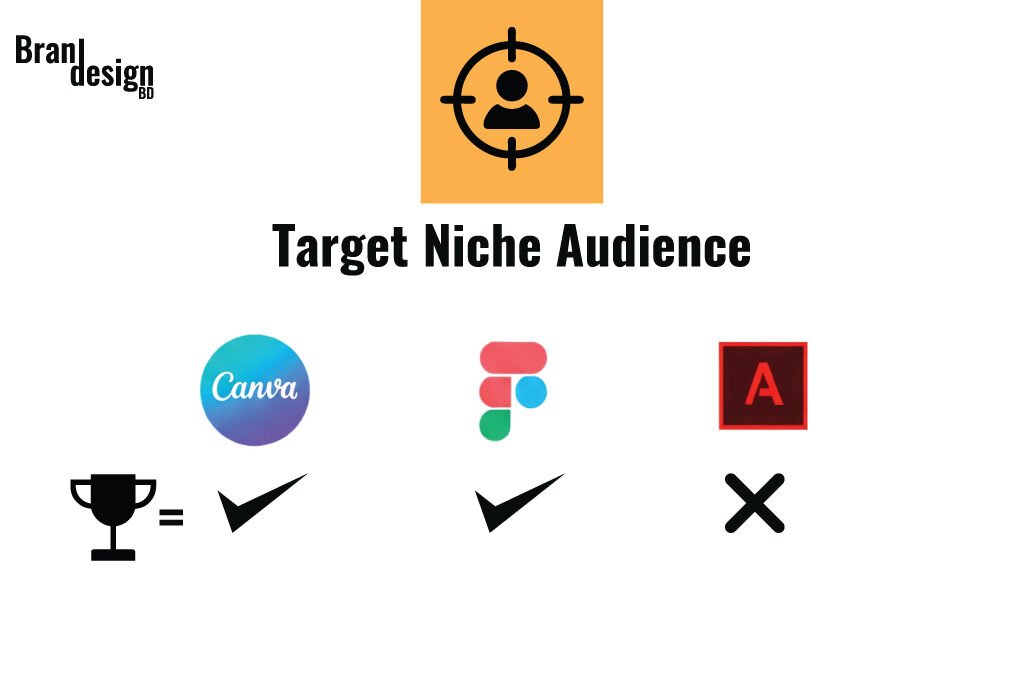
5. Target Audience
Canva: Best for content creators, social media managers, entrepreneurs, teachers, and beginners who need quick, beautiful designs without complexity.
Figma: Tailored for product designers, UX/UI professionals, app/web developers, and teams focused on digital products and interactive design.
Adobe: Designed for professional graphic designers, illustrators, photographers, and visual artists who need industry-standard tools and advanced capabilities.
Winner: It depends on your role. Canva for non-designers, Figma for UX, Adobe for high-level creatives.
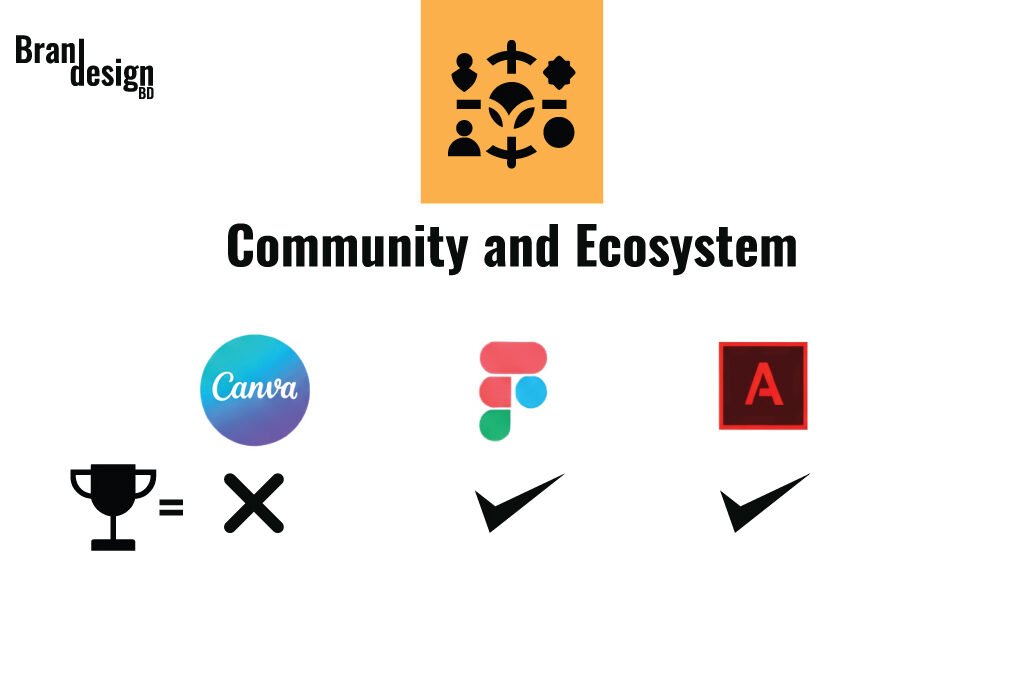
6. Community and Ecosystem
Canva: In 2025, Canva’s community is massive. With thousands of free templates, an active marketplace, and user-generated content, there is plenty of inspiration and plug-and-play content available.
Figma: Figma boasts a strong developer and designer community. Its plugin ecosystem and community file library continue to grow. Hackathons, webinars, and free resources are plentiful.
Adobe: Adobe still leads with the richest ecosystem, spanning decades. Behance integration, Adobe Stock, and a global user base provide endless inspiration and collaboration opportunities.
Winner: Adobe (for legacy and reach), Figma (for innovation and accessibility)
Conclusion: So, Which One Wins in 2025?
There isn’t a single “winner” because each platform has its niche:
- Canva wins for accessibility, affordability, and speed.
- Figma wins for collaboration, UI/UX design, and cloud functionality.
- Adobe wins for professional-grade design, depth, and creativity.
But AI is reshaping the battlefield. The 2025 design tool war is no longer just about features—it’s about how seamlessly AI enhances productivity and creativity.
AI Progress in 2025: Who Leads?
Adobe stands at the top when it comes to advanced, high-quality AI capabilities. With Firefly embedded across its apps, Adobe allows professionals to push creative boundaries in ways previously unimaginable.
Figma leads in predictive design and intelligent collaboration, enabling faster prototyping and consistent design systems at scale—ideal for fast-moving product teams.
Canva continues to democratize design, using AI to eliminate guesswork for everyday users. It’s now so efficient that entire brand kits, social campaigns, and presentations can be auto-generated with a few prompts.
Designers Win Either Way
The AI race among Canva, Figma, and Adobe is driving innovation at a breakneck pace. This competition has empowered designers of all levels:
- Newbies can dive into design with AI-driven assistance.
- Teams can design faster and smarter.
- Experts can unlock creative freedom with tools once deemed impossible.
Final Thought
In the end, the best design tool in 2025 is the one that fits your workflow, team dynamics, and creative goals. Whether it’s Canva’s accessibility, Figma’s collaboration, or Adobe’s depth, every designer stands to gain from the advancements AI has brought into these platforms.
So, while there may not be a single winner—in 2025, designers are the real champions.
Also, check the recent article about the best laptop for graphic design here.
The primary differences between these tools lie in their intended use cases and user base. Canva is designed for speed and simplicity, making it ideal for quick, visually appealing designs. It’s popular among non-designers, small business owners, and individuals who need to produce content for social media, marketing, and presentations.
In contrast, Figma focuses on the design and prototyping needs of UI/UX designers. It is especially valuable for collaborative projects and allows real-time teamwork on design elements, which is crucial for web and app development teams. Adobe, on the other hand, is the industry standard for high-quality, professional design. With tools like Photoshop, Illustrator, and InDesign, it provides an extensive range of advanced design features that cater to graphic designers, illustrators, photographers, and print professionals.
Figma takes the lead when it comes to collaboration. As a web-based tool, it allows multiple team members to work on the same design project in real-time, making it an excellent choice for teams working remotely or in different locations. It’s particularly popular among UI/UX designers, who need to iterate and gather feedback quickly from clients or team members. Figma’s collaborative features are also enhanced by its version control and commenting system, ensuring that everyone can track changes and provide input seamlessly.
While Canva does offer some basic collaborative features, such as sharing designs and allowing others to edit, it does not provide the same level of real-time, live collaboration that Figma does. Adobe, in contrast, does not specialize in collaboration. Though tools like Adobe Creative Cloud allow for file sharing, Adobe products are generally more isolated and designed for individual work rather than collaborative design.
Canva is ideal for social media managers, content creators, small businesses, and marketers. Its ease of use and template-driven approach make it perfect for quick visual content creation.
Figma is best suited for UI/UX designers, web developers, and digital product teams who need a collaborative platform for designing and prototyping apps and websites. Its real-time collaboration tools are essential for teams working remotely or with tight deadlines.
Adobe is the top choice for professionals in graphic design, photography, publishing, and advertising. If you’re working on branding, detailed illustrations, photo retouching, or large-scale print projects, Adobe’s advanced tools are the industry standard.
In 2025, AI plays a key role in enhancing the design experience across Canva, Figma, and Adobe—each leveraging it uniquely. Canva focuses on ease, with tools like Magic Resize, AI text-to-image, and background removal, making design fast and accessible for non-designers. Figma uses AI to assist with layout generation, design consistency, and smart UI components, helping streamline workflows and boost collaboration. Adobe, powered by its AI engine Sensei, offers the most advanced features—auto-tagging, AI photo editing, and content-aware tools—designed for precision and professional-grade creativity.